I used to think that self-tanning was a daunting task with a steep learning curve.
It wasn’t the sun exposure I feared, but the risk of a tanning disaster.
I had tried a few self-tanners before and encountered almost every issue people complained about online: the color turned out intensely orange—looking like I’d applied orange foundation; my palms ended up darker than my body the next day and wouldn’t wash clean; and the smell was awful—a heavy chemical odor mixed with a cheap cookie scent that made me feel self-conscious while trying to sleep. Not to mention how easily the product would streak or settle into creases on my legs and elbows, resulting in a patchy, uneven mess that started fading awkwardly after just a few days—looking far worse than having no tan at all.
For a long time, I was convinced that self-tanning just wasn’t for beginners.
That changed completely when a friend recommended Coco & Eve Sunny Honey Tanning Mousse. It not only solved all the problems I was worried about, but the application process was also far simpler than I imagined; even as a first-time user, it was virtually foolproof.
Why did I choose Coco & Eve Sunny Honey?
To me, its greatest strength isn’t just the depth of color, but how natural it looks.
Many traditional self-tanners prioritize speed, resulting in an obvious orange undertone; combined with your skin’s natural base color, this often leads to a “fake tan” look.
What surprised me most about Coco & Eve Sunny Honey is its green-grey base tone. When I first dispensed the mousse, the dark color made me a bit nervous, but after rinsing it off, the result wasn’t orange at all—it was a beautiful, luminous golden-bronze.
It gives you that healthy, sun-kissed glow. In the sunlight, my skin has a subtle golden sheen—no greyish cast and definitely no orange tint. I used to worry that self-tanning would make my skin look sallow or orange, but this product actually made my complexion look incredibly clean and bright—it even made my teeth look whiter.
Cellushape Formula: Moisturizing While You Tan
I used to think self-tanners were just about adding color.
But Coco & Eve Sunny Honey changed my perspective because my skin actually improved while using it. It features the Cellushape anti-aging and moisturizing formula, combined with various hydrating botanical ingredients. I used to use other brands, and the day after tanning, my legs would feel incredibly dry—especially around the knees, calves, and ankles, where dry, cracked lines would become glaringly obvious. With Coco & Eve Sunny Honey, however, my skin stays soft and hydrated after application. It doesn’t settle into fine lines or creases. Even tricky areas like elbows and knees look completely natural.
The overall color is incredibly even, looking more like a natural tan than a layer of applied color.
The scent really blew me away
If you’ve used traditional tanning products before, you’re likely familiar with that classic “DHA smell.” Some say it smells like cookies, others say fermented bread—basically, it’s a scent that gets increasingly overpowering the more you smell it.
Coco & Eve Sunny Honey is nothing like that. As soon as you open it, you’re greeted by a tropical fruit aroma—a fresh blend of mango and guava. When you first apply it, the texture even feels a bit like a body mousse.
It fills the room with a fruity scent, so you don’t have to deal with that weird chemical odor while trying to sleep. I absolutely love that aspect.
Mousse texture; develops color quickly
Personally, the texture is my favorite part. It’s not a heavy lotion, but a wonderfully airy mousse. It dispenses as a dense, creamy foam and absorbs rapidly once spread, so you don’t have to stand around in the bathroom waiting forever. The surface dries in just a few minutes, and it doesn’t feel sticky at all when wearing loose pajamas.
I used to dread getting tan product all over everything. Once Coco & Eve Sunny Honey dries, it barely transfers to the sheets, and you don’t have to hold awkward poses while waiting for it to set. The whole experience is much more comfortable.
How do you choose the right shade?
There are currently three shades available.
Medium: Best for first-timers or those with fair skin who want a natural, healthy glow.
Dark: My top recommendation. It offers a noticeable yet natural look that photographs beautifully.
Ultra Dark: Ideal for those who already have a base tan or want a deeper, richer bronze. The color payoff is more intense. I went straight for Dark on my first try, and the result was perfect—not over-the-top at all.
My full tanning routine
Step 1: Exfoliate the day before
Don’t skip this step. It is the most crucial factor in achieving an even tan. I focus on thoroughly cleansing these areas:
- Elbows
- Knees
- Ankles
- Wrists
- Underarms
The skin is thicker in these spots; if left untreated, they tend to absorb too much color.
Step 2: Moisturize
After showering, I apply a little body lotion to areas prone to dryness first.
Especially:
- Elbows
- Knees
- Ankles
- Knuckles
This ensures the color applies evenly later, preventing dark, patchy spots.
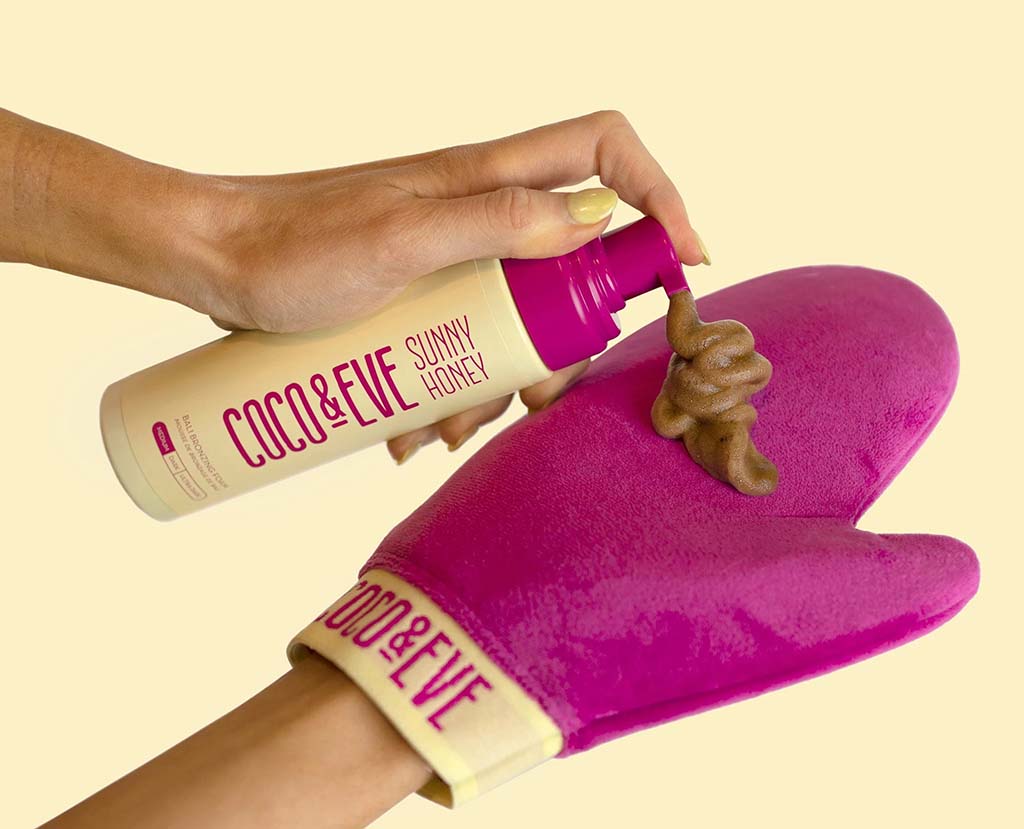
Step 3: Put on the dedicated tanning mitt
This step is crucial.
I used to apply it with my bare hands; while the body color turned out fine, my palms ended up looking like I’d just been digging through coffee grounds.
The Coco & Eve Sunny Honey set comes with a custom tanning mitt, which I use for the entire application process. It not only spreads the product evenly but also keeps my hands completely stain-free.
I usually follow this order: legs → buttocks → abdomen → back → arms → shoulders. I blend the product in using circular motions for each area—avoiding random back-and-forth rubbing—to ensure the most even color.
Step 4: Use a face brush for the face
Many people struggle with facial application simply because they choose the wrong tools. I dab a small amount of mousse onto the brush and blend slowly from the outer edges of the face toward the center.
Hairline, behind the ears, jawline, and the sides of the nose—I make sure to lightly blend over these areas so the transition between the face and body looks natural.
The face brush included with the set is excellent; it provides much more even coverage than using your hands.
Step 5: Adjust the processing time based on your skin tone
This is a point many beginners overlook. Leaving it on longer isn’t necessarily better.
My advice: For a natural, glowing tan, leave it on for about 1–2 hours.

If you prefer a distinct bronze look, leave it on for 4–6 hours.
For the deepest color, you can leave it on overnight before rinsing.
The first time I used it, I left it on for 4 hours and was very happy with the color. The color continued to develop after rinsing, reaching its peak intensity after about 24 hours.
How do I maintain the tan?
Many people think tans fade quickly, but it’s often due to improper aftercare.
Here is my routine:
First, for the initial rinse, use only warm water; do not use body wash immediately. Second, make sure to apply body lotion daily; the more hydrated your skin is, the longer the color lasts.
Third, avoid scrubbing your body every day, and pause the use of exfoliating scrubs for a few days.
Fourth, soaking in hot springs or saunas and taking long, hot showers will accelerate fading, so try to avoid these activities as much as possible.
By following this routine, the color lasted for about a week. Plus, the fading process was very even—no patchy spots—so it continued to look natural.
My overall experience
After using Coco & Eve Sunny Honey, I finally understood why so many Western influencers keep recommending it.
It doesn’t give you that obvious “I’m wearing fake tan” look. Instead, it gives your skin a healthy, radiant glow. It looks incredibly chic when wearing white, and gives off a perfect vacation vibe in swimwear photos.
Most importantly, it solves almost all the issues I usually hate about traditional tanning products: no orange tint, no streaking in creases, no stained hands, no unpleasant smell, and a quick-drying, non-sticky formula. It’s also incredibly easy to use—even a complete beginner can get great results on their first try.
Finally, here’s a thoughtful touch I really appreciated.
If you buy the Coco & Eve Sunny Honey tanning set from their official website, it comes with a branded tanning mitt and a face brush. You don’t need to buy extra tools; beginners get the full kit in one go, and following the steps makes it virtually foolproof.
For me, it didn’t just change my perception of tanning products—it gave me a natural, luminous, and sophisticated bronze glow for the very first time.